Showing posts with label mastering manual mode. Show all posts

Saturday, 9 April 2011

Happy Birthday To You...

...dear little plastic box, and happy anniversary.

It's one year now, since I got my little beginner's DSLR, and it's been one year of exploring, experimenting and learning. It's been a great journey so far, into this wonderful world of (digital) photography. When I first got my camera, I didn't have a clue about how to use it. I used the "beginner's modes", i.e. landscape, macro, portrait etc. in the first few weeks until I was ready to move on to aperture priority mode after a National Trust photography working holiday in the Lake District last May. The firts thing our tutor made us do back then actually was to shoot in manual mode and trying out all the different settings, especially white balance. I found it all rather confusing and overwhelming, and so confortably settled for aperture priority for the next 8 months, ignoring all the other settings and taking my time to discover all about depth of field, focusing and how everything worked together (it's really not much use having someone explain it all to you, you just have so see it for yourself).

Macro mode, 135mm, 1/250, f/5.6, ISO 100, WB: auto. Taken 29/04/2010 (processed 09/04/2011)

By the end of last year, I decided that it was time to move on and signed up for an 8 weeks e-course on how to shoot in manual mode, starting in February. I must admit that when the course began, I was sort of secretly convinced, that it was nice to know all about manual mode, but that I really would go on using aperture priority mode and maybe just pay more attention to ISO and white balance. However, after the 8 weeks, I must say that I quite enjoy shooting in manual mode. It does mean a lot of settings and adjusments to do before you can actually take your picture, but I quite like the feeling that I'm in control of all the settings and decisions. It needs more time but then, all this fiddling with aperture, shutter speed, white balance, ISO etc. really is what a DSLR is about, isn't it. And although I haven't been doing it very long, I do feel that there have been times, when I'm quite sure that I'd never managed to get a satisfactory picture if I had just used aperture priority mode and nothing else. There are, of course, still pictures that go straight into the bin, but that's the limitations of photography. There are certain conditions, where it just isn't possible to get a good picture, and that's another thing one has to learn by experience and trial and error. But I don't think I'll go back to aperture priority mode as my main mode of picture taking, but stick with manual mode and continue on the learning path.

As it's now a year since I got my camera, it means that I'll now be able to compare my pictures with those from last year. I like to believe that I've made some progress and am getting a bit better at it (though when looking through my old pics, they aren't all that bad). Of course, photography is more than just the settings on your camera. It's as much about seeing, about composition, colours and catching moments that mean something to us, that tell our story and our way of looking at and seeing the world. But knowing something about the technical stuff certainly doesn't hurt, and in fact can help you to achieve better results.
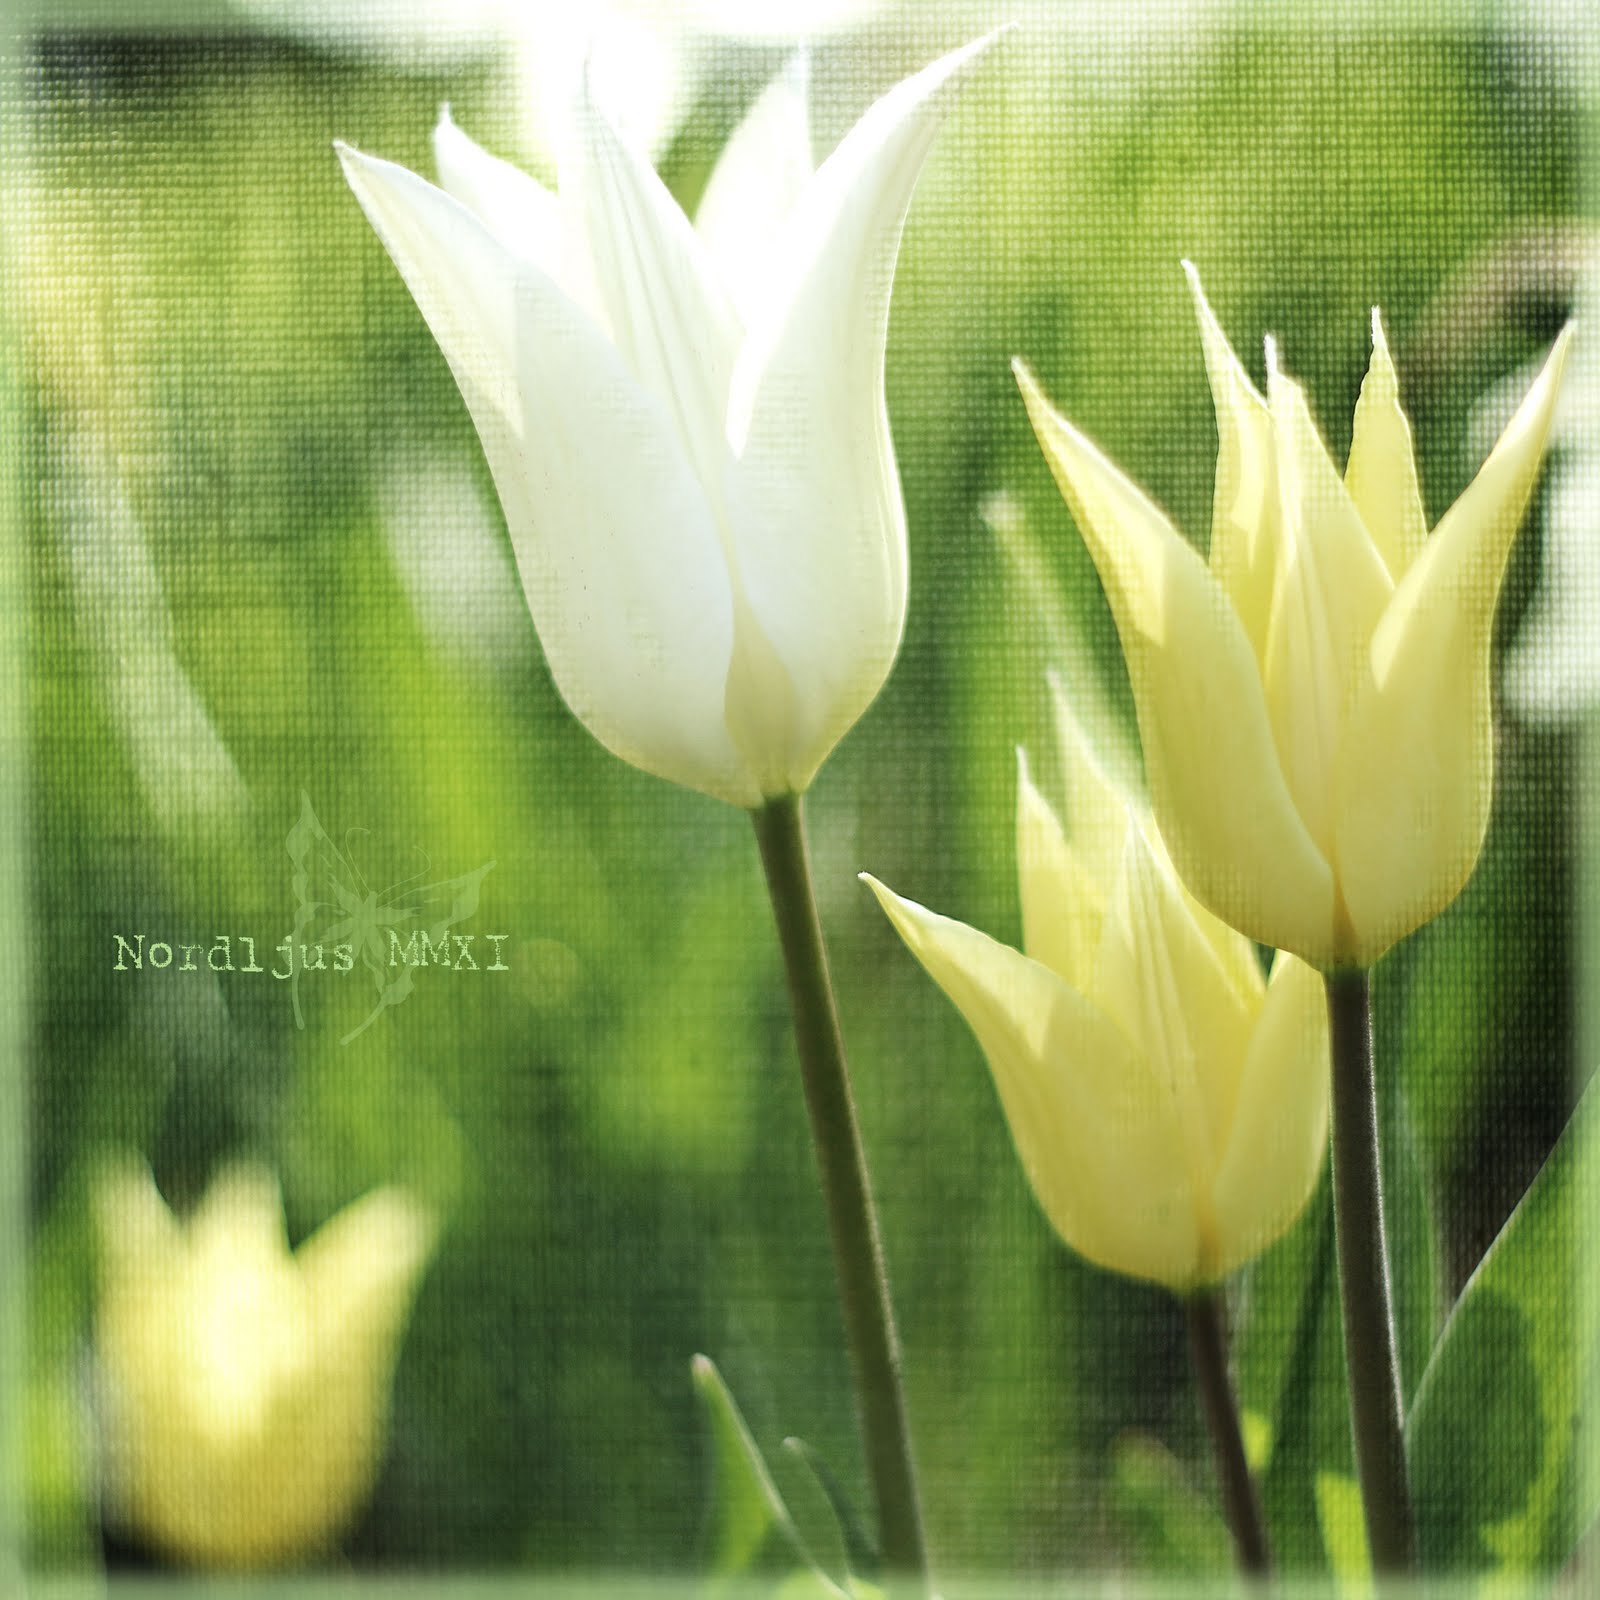
Manual Mode, 50mm, 1/1000, f/1.8, ISO 100, WB: daylight. Taken 09/04/2011
Another thing I've started to learn about in the last 12 months is post processing. I got PSE8 almost three months after I got my camera and really started using it about another two months later, mostly doing a bit of levels and saturation adjustments. I also used the straightening tool a lot because I seemed to be absolutely unable to take a straight picture (something I've managed to get much better at). I also used Picnik a lot for my post processing, because it was so easy to use, but I was also often a bit frustrated about its limitations. I felt that I didn't have much control about the processing and I really wanted to learn to do it myself. I found some e-courses (what a great thing they are!!) and learnt first the basics and then all about working with textures, which I really enjoy. I processed the top image with a lovely Kim Klassen texture, the one in the middle using a close-up of one of the blinds in the living room, and the one below with a number of adjustment layers and cross processing. The possibilities really are endless.

Manual Mode, 50mm, 1/1000, f/1.8, ISO 100, WB: daylight. Taken 09/04/2011

So that has been my first year with my little camera. I'm still at the beginning of my journey, having taken only some small steps so far. There's still so much to learn and to practise. Portraits, for example, is something I'm no good at at all but would like to do more often. And there's still a lot to learn about all the settings, most of all about white balance, which I often find very confusing and probably really the most difficult thing of all. But I'll write a separate post about that, I think. All I can say is that I enjoyed the journey so far and I'm looking forward to many more months and years of following the path, and keeping practising, practising, practising... :-)

Sunday, 6 March 2011

A Little Bit of PSE Processing

Now this is probably old news for most of you reading this post, but I thought I'd post it anyway. Because I've been learning a lot about PSE8, processing and working with textures in the last few months and I always love to see how others do it. So I thought I'd share some very simple processing today with you, which l learned in those past few months.

I took some pictures of a bunch of lovely purple tulips I bought earlier this week. Actually, I did this for the Mastering Manual Mode class, where we're looking at shutter speed this week. But I'll write about this in another post.

Back to the processing. You can't really call it a tutorial, there are so many much better and cleverer ones around by people much more experienced than I am, knowing far more tricks. But it's always a learning experience nad there are so many different ways of doing things and achieving effects, that I think it's always interesting to see how others do it, even if it's very basic. You might always discover a little trick or step you didn't know yet. Happens to me all the time (but then I'm such a beginner anyway so it's not really surprising ;.) ). So this was the original picture:

Manual Mode, ISO 400, 1/400, f/1.8, exposure 0
What I didn't like about it were mainly the bits of green on the left side, where I had been too lazy to remove the plant standing on the window sill next to where I placed the tulips for the image. But luckily, I had learnt by now how to remove this things by using one the sponge tool to remove saturation and dark bits. I actually brushed away other parts of the background as well, especially the dark blue part at the top right corner, which at the end left me with an almost white background. Perfect for adding a texture. But before that I did a little bit of levels adjustment.

I then looked for a texture which would match the colour of the tulips, some soft shade of purple or lavender. I found the one I wanted in the "Baking with Mom" collection from Rita at The CoffeeShop Blog (this is a most wonderful blog which you have to check out if you don't know it yet. It has loads of wonderful textures, actions (which I still haven't worked out how to install *sigh*) and helpful tutorials). The "favourite apron" texture was just the right shade of purple/pink for my image.

I used the texture in three layers. For the first layer, I used blending mode "multiply" with opacity 78%, for the second "soft light", opacity 44% and for the last blending mode "multiply" again, with opacity 60%. This is really just experimenting around until you're happy with the result.

So here's a screenshot with all the levels. I always like to see these levels, and one of the very first things I learned in one of the e-courses was that when you save it in Photoshop's PSD format, it means that you're levels are preserved. I hadn't actually known that and had always just saved my images as JPEG after having done some adjustments (which at the beginning were only levels, saturation and contrast adjustments, because that was all I was able to figure out myself). I didn't really know what to do with that PSD format, as you couldn't look at the picture anywhere else than in Photoshop. My goodness, how ignorant I was :-). Anyway, here's the screenshot:


As you can see I also cropped it at one stage of the process. Actually, I did that after all the texture levels, which means that I might have cut off some of the texture. But in this case it doesn't really matter (and I haven't really figured out yet if PSE automatically resizes the texture if you crop it afterwards or if some of the texture is actually just cut off). Anyway, the cleverer bit would of course be to crop it before. As you can also see, I removed some of the texture on the tulips in all three texture layers. Apparently, in the full version of Photoshop and also in the latest PSE version 9, you can just add a layer mask which allows you to remove texture without actually erasing it, which makes it easy to put some of it back again if you removed too much. There's a trick for PSE8 and lower to "borrow" a layer mask but I find that in most cases, just simply erasing the texture is okay. And if you made a mistake, you just have to undo it and start again.

And finally, the finished picture. I quite like how it turned out :-)


Have a wonderful and inspiring Sunday!

Friday, 4 March 2011

MMM ~ Week 4 ~ Assignment #2

Today, I finally had the time and energy to give last week's assignment another go. (Friday - isn't it funny how much more energy one suddenly has when one knows that one doesn't have to get up at 5.30 the next morning?).

I decided to take only the full stops this time, though I included f/1.8, because my lens doesn't go any lower (f/1.4 would be the full stop).


Ha, no problems uploading it this time, and the large size also works perfectly :-). I just love to see them next to each other and to see how the DoF changes. Even with just the 9, instead of the full 24 stops, it does still look cool. Yes, I definitely have to do more of these, with different subjects and in different light conditions. Such good exercices :-)

Monday, 28 February 2011

MMM ~ Week 4 ~ Assignment

Week 4 of Mastering Manual Mode already, and we continue looking at Aperture Priority. This actually has been my preferred mode for the last 10 months or so (and I completely ignored everything else, leaving for example ISO always on automatic). Time to really start to learn how all the things work together!

The assignment was to take a series of pictures with different apertures. Well, to be exact, the assignment was to concentrate on the full stop aperture, i.e. f/1.4, f/2.0, f/2.8, f/4.0, f/5.6, f/8.0, f/11, f/16. But I just wanted to try out the whole range of my lovely 50mm 1.8 lens, including all the fractions in between, so I went through the whole range from 1.8 up till 22. I took these inside, in my living room, and in the late afternoon, so it was already quite a bit darkish, hence the long shutter speeds.


But I think this is such a lovely exercise (and one I've actually had wanted to do for quite some time). Putting them all side by side, it gives you a great overview of the depth for each aperture. I definitely want to do this again in different light conditions. It's something you can always get back to. And I now have the mosaic template as well :-).

I tried to upload this last night, but without success. I'm afraid the quality of the picture isn't very good (anymore), which is why it's rather small here. This is because, math genius that I am, my calculations for the mosaic ended up in a file that was so huge that even with saving it with jpeg quality 0 was still far too huge to be uploaded. But I found a simple online image compression tool which allowed me to finally upload it: http://reduction-image.com/. Ah well, another lesson learned... :-). And as to the template, I'm afraid I'll just have to bin it and start the whole work all over again... :-(

Saturday, 12 February 2011

MMM ~ Week 2 ~ Assignments 1 & 2

In week 2 of Mastering Manual Mode we're looking at ISO and Program Mode. Program Mode is basically the next step up from Auto Mode (other terms I've heard or seen for this mode are "Idiot Mode" and "Muppet Mode" and I'm sure there are a few more :-) ). Unlike Auto Mode, in which your camera takes control of everything, there are a few things in Program Mode you need to be aware of - or rather where you can take a little influence, such as ISO.
The first assignments was to just take two different images in Program Mode. I didn't do anything as to ISO or anything else, just let everything on Auto. That's one of the two images, which I somehow quite like. I did some slight adjustments in PSE8, such as a layer with soft light (this has become a bit of a "must" really), some levels adjustment and a slight saturation boost. I also changed the colour of the text a bit, as the original is a rather too bright blue, which I toned down a bit.

70mm (17-70mm 1:2.8-4 lens); ISO 1600; 1/100; f4.0

* * *

The second assignment was to take a series of images of the same subject with different ISO settings and see how shutter speed and aperture change and how ISO affects the image. You can see that there's quite a lot of noise in the last, with ISO 6400. Which is not really surprising, is it :-). Again some slight levels and saturation adjustments, using exactly the same for all images.

As with last week's assigment, I created a mosaic to present them. I'm getting quite good as with using layer masks to create these :-). Only that I never manage to do the math right for the size of the background. So there's always a lot of resizing and moving around and final cropping of the background to make it all fit. I was always hopeless with math...


50mm 1.8 lens; ISO 100 - 6400

Friday, 11 February 2011

MMM ~ Week 1 ~ Assignment 1

Last week was the start of the course Mastering Manual Mode at Big Picture Classes. I signed up for it because after 3/4 of a year with my DSLR, it was about time to master the basics. I changed to Aperture Priority mode very quickly and more or less mastered when to use which aperture for best results. Occasionally, usually for night shots, I used Shutter Speed Priority, but only rarely. ISO I usually ignored completely and let the camera deal with it. The only in camera adjustments I did was exposure but that was basically it.

So now, with the beginning of the new year and the beginning of my creative journey, I thought it was perfect time to get into Manual.

I did the first assignment last Sunday but when I wanted to process the images, I realised that I did it all wrong because, of course, as usual, I hadn't read the instructions properly. As we were supposed to take different images in and around our house in the daylight, I had to wait until today, my day off, to do it again.


The assignment was to take pictures of the same subject in different lighting situations, with the camera set on program mode and ISO to 400, and to make a note of shutter speed and aperture for each image. I processed each image in PSE8 with slight adjustments of levels and/or saturation.

It's already week 2 actually, and the next assignment is waiting. I'll be working on that tomorrow afternoon or Sunday - but this time reading through it properly first! :-)